Lazarus Instrumentality Guide
Table of Contents
Introduction
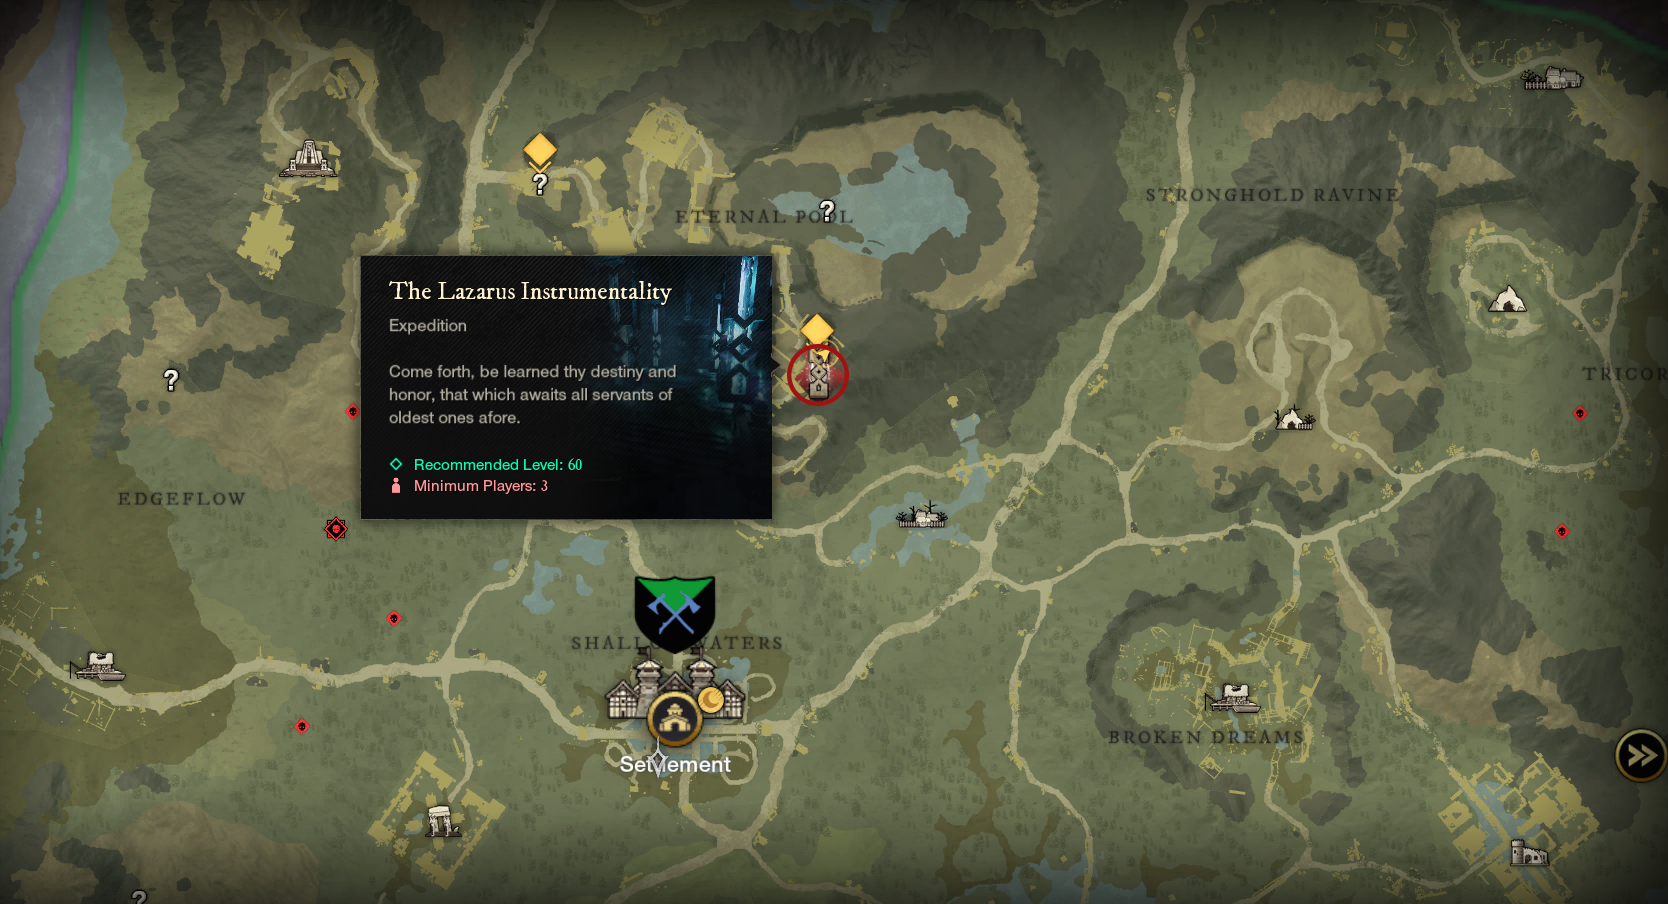
Expedition Location
North Reekwater
Expedition Information
Monster Type: The Ancients
Recommended Level: 60+
Dungeon Quests
- The Original Guardian (Expedition)
- Baetylus Headpiece (Expedition)
- Faction Quests – Picked up in Reekwater
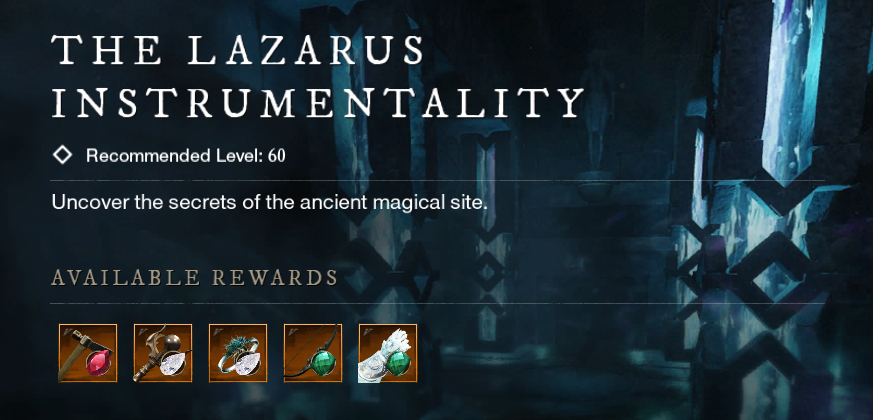
Loot Drops
All monsters and bosses in Lazarus Instrumentality have a chance of dropping the following loot:
Tuning Orb
The Lazarus Tuning Orb requires the following materials:
- Corrupted Lodestone – x20
- Asmodeum Chisel – x1
- Runestone – x10
- Lazarus Core – x1
Requirements:
- Stonecutting Skill Lv. 150
- Stonecutting Table Tier 5
Bosses
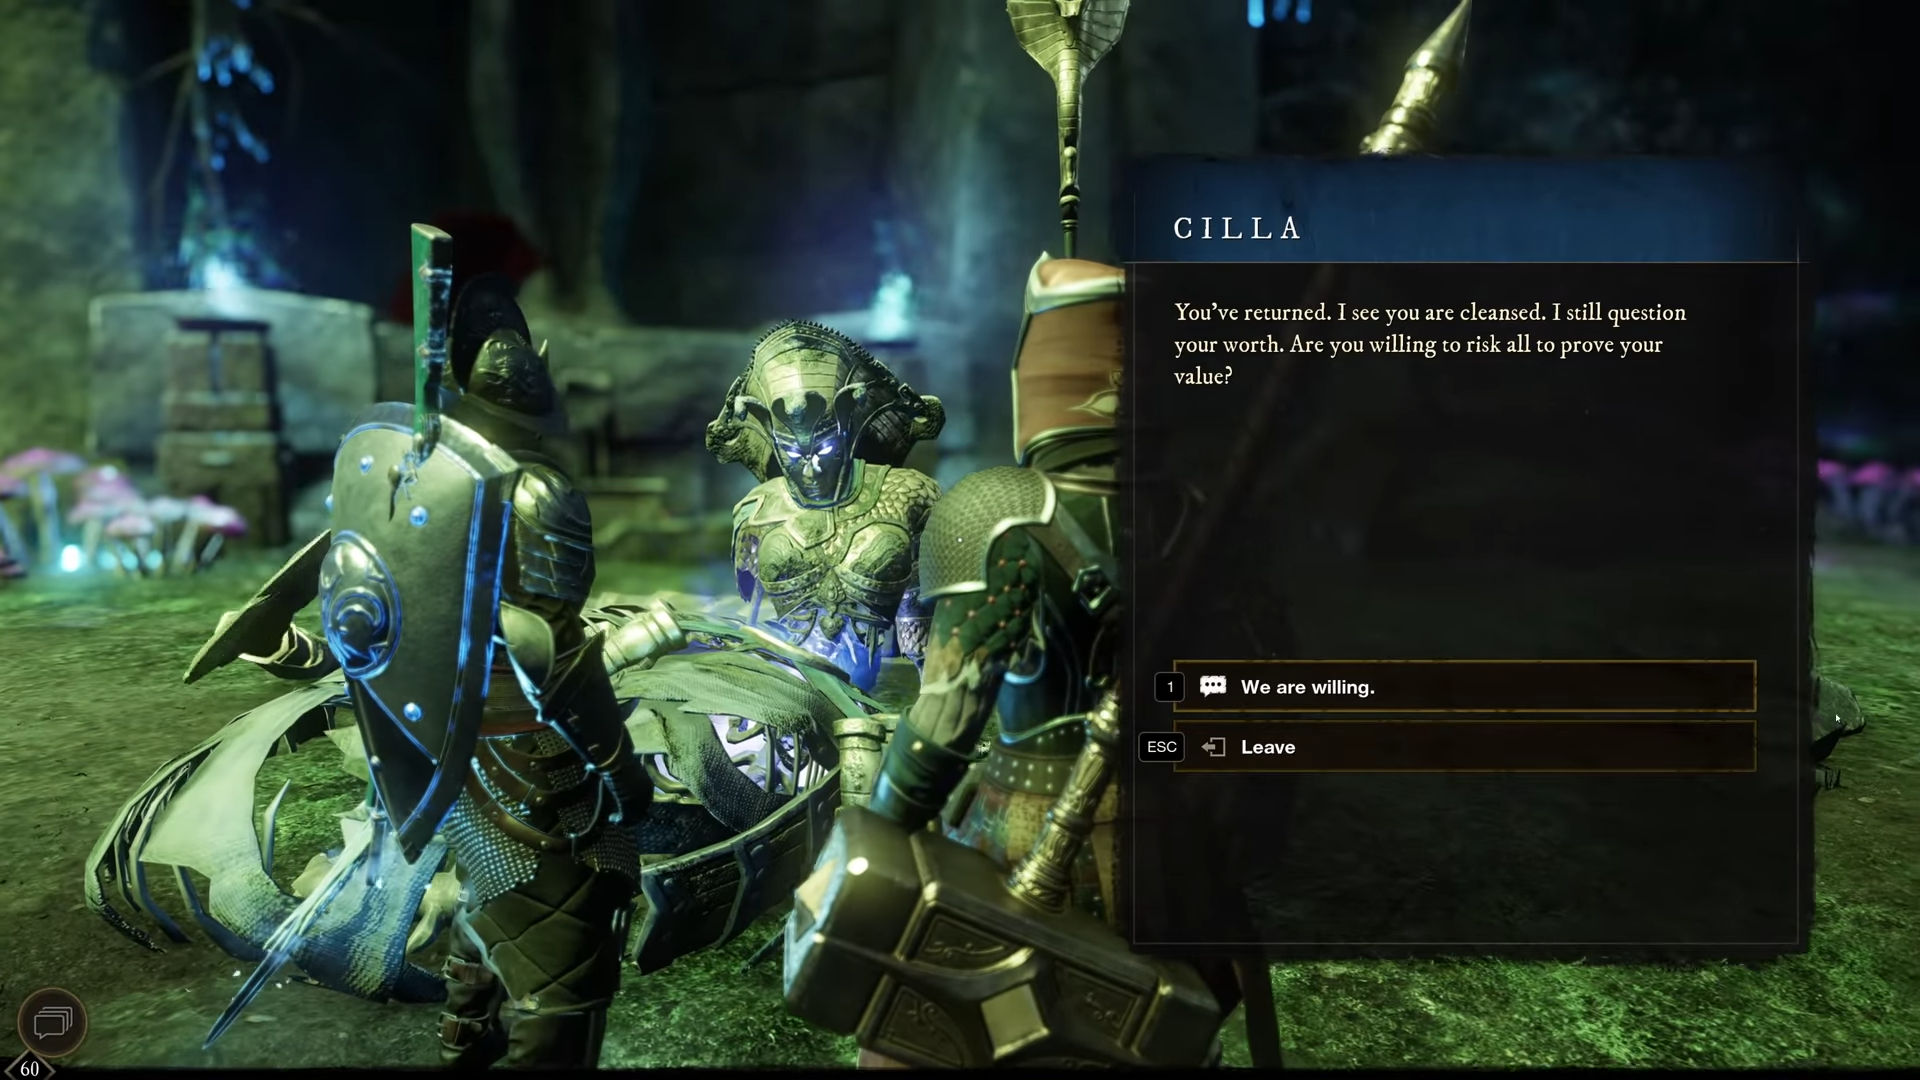
Cilla
Deals Slash and Strike damage
Weak to:
- Strike Damage – 20% more effective
- Lightning Damage – 30% more effective
- Void Damage – 15% more effective
Resistant to:
- Slash Damage – 15% less effective
- Fire Damage – 40% less effective
Abilities:
- Arcane Nova
- Javelin
- Arcane Barrage
- Arcane Wave
Cilla is a half serpent half humanoid like creature that wields a large spear and can use three magical attacks. The perimeter of the platform that you fight her on is covered with conduits on the ground with rune markings on them. Success in this fight is dependent on your ability to manage her ultimate ability Arcane Nova. When these conduits light up players must move to them before Cilla does to delay her charging up faster towards her ultimate ability.
Her most simple ability is Javelin where she tosses her spear at a player then dashes forward to retrieve it. Her second ability Arcane Barrage is an obviously telegraphed attack where she fires off a couple Arcane bolts at a player which can be easily dodged.
The third ability is Arcane Wave which is a wide projectile type attack that will be launched in a direction and travel the entirety of the battle space. This ability is fairly easy to dodge as the projectile doesn’t move very fast but deals high damage if hit.
Cilla’s ultimate ability is Arcane Nova. When Cilla uses Arcane Nova she puts her weapon above her head like she’s channeling and summons large purple void zones that your group has 3-4 seconds to run out of before they pop for massive damage. This is a very long 4-5 minute encounter as the boss has a lot of health.
Chardis
Deals Strike and Slash damage
Weak to:
- Strike Damage – 20% more effective
- Lightning Damage – 30% more effective
- Void Damage – 15% more effective
Resistant to:
- Slash Damage – 15% less effective
- Fire Damage – 40% less effective

Abilities
- Slap
- Double Slap
- Full Sweep
- Rolling Hands
- Optic Beam
Activating the Ancient Device will bring a large stone golem to life called the Chardis, the final boss of the dungeon. Chardis’ abilities deal heavy damage but this boss is pretty slow and the telegraphs are pretty easy to see. This boss is immobile and instead attacks you with his extremities which have a variety of abilities such as Slap, Double Slap, and Full Sweep. These hand mechanics are very similar to the final glove boss of Super Smash Bros on N64. Hand Slaps will come down vertically periodically and the Full Sweep will be a horizontal sweep of the whole battlespace with his arm. Another one of Chardis’ abilities is called Rolling Hands. Chardis will detach his hands, his wrists will glow, and his hands will start rolling around the battlespace dealing heavy damage to any player they come in contact with resolving after they’ve done two laps.
Melee toons should attack Chardis via his torso and ranged should preferably attack him through headshots to maximize damage efficiency. Periodically throughout the fight you will see Chardis summon little orbs called Lazarus Barriers. You will need to destroy these ASAP then pickup the Arcane Attunements left behind. These are used to counter his ultimate ability Optic Beam.
Take the Arcane Attunements to one of the two panels on the ground in front of the boss. Using these Arcane Attunements will summon a Conduit similar to the CIlla fight. Chardis will use his ultimate ability Optic Beam which is a targeted channel that deals high damage. Whoever is tanking the ability should move to one of the summoned circuits. When Optic Beam comes in contact with the Conduit it will overload the boss, stunning him for a few seconds and making his head reachable for everyone accelerating party damage. These are the windows you should try to burst him down as much as possible. At 15% it will trigger a last stand type phase where he does a constant Optic Beam at a target and you will have to finish him as the damage will ramp up in this phase.
